Monday, February 19, 2024

Matcha Latte

Edit - still based off this recipe, but this is exactly how I like it - the lower temp for the water eliminates bitterness.

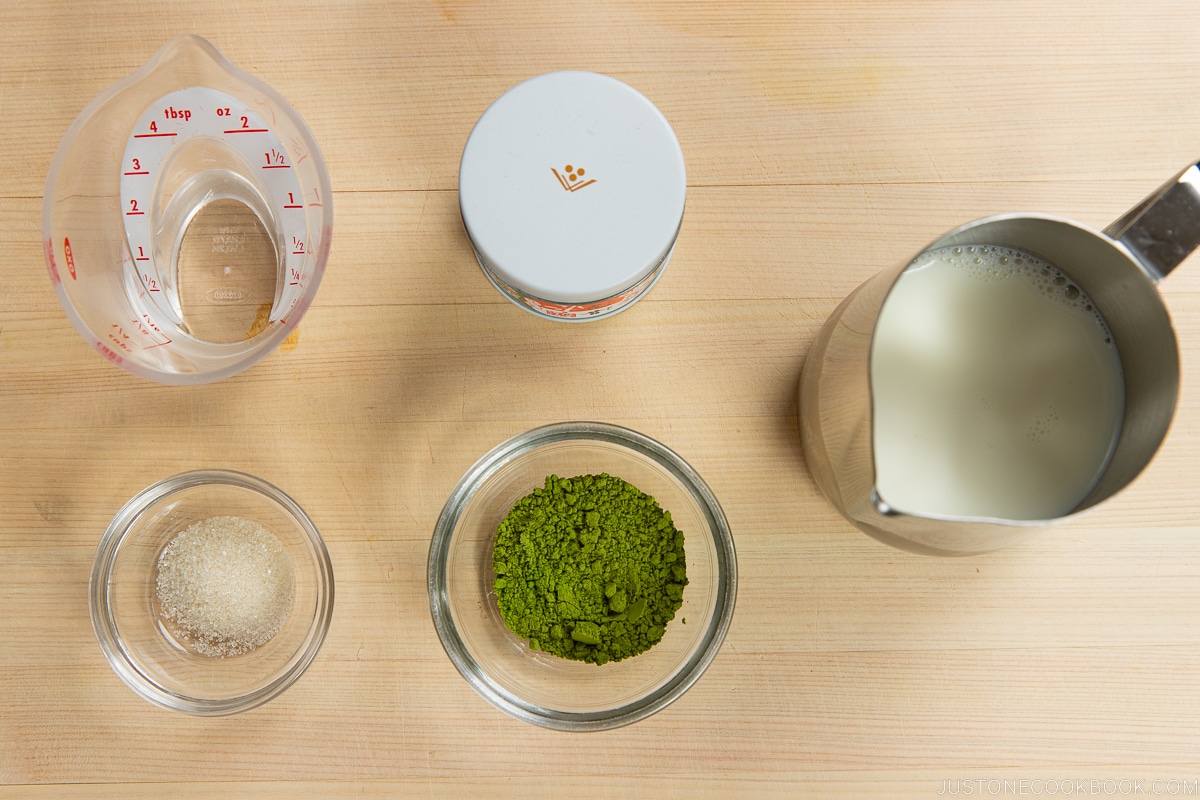
3g sifted matcha

30g 150*F water

Whisk together with chasen

Add 3/4 C hot milk - I use the non-frothing attachment on my standalone milk frother/heater

Add sweetener (currently using brown sugar syrup which is amazing)


 Taken entirely from Just One Cookbook

Matcha Latte

INGREDIENTS

  • 3 g matcha (green tea powder) (read my tips in the blog post on how to source premium-quality matcha, which has a smooth, deep, sweet flavor with no bitterness; for a more subtle taste, use 2g matcha and 22.5ml hot water)
  • 30 ml hot water (176ºF, 80ºC)
  • 180 ml milk (for vegan/vegetarian, use soy, oat, or almond milk)
  • ½ tsp sugar or 2.08g (optional; I don‘t add it)

For the Garnish

INSTRUCTIONS
 

  • Gather all the ingredients.
    Matcha Latte Ingredients
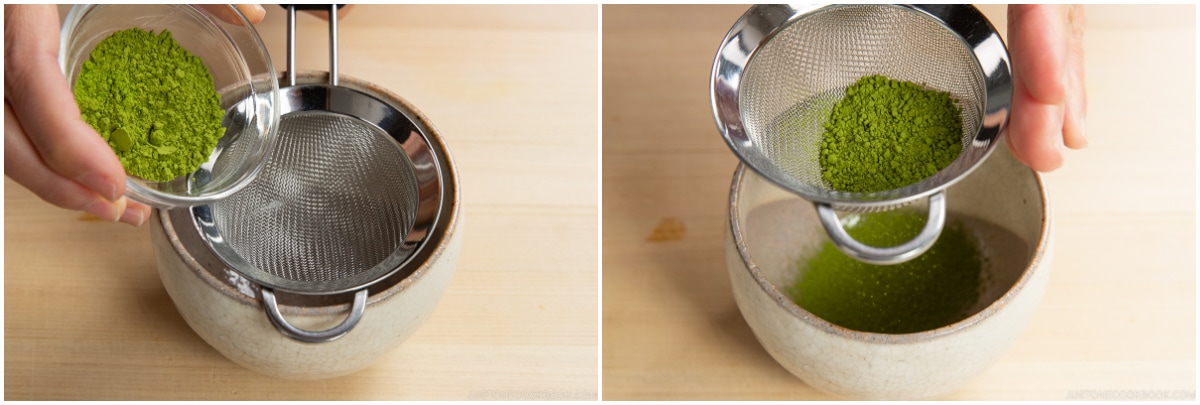
  • Using a fine-mesh strainer, sift 1½ tsp matcha (green tea powder) into a cup (a wide cup or a bowl works best for whisking). Tip: Fine powders become lumpy once you add hot water. I‘ve tried both with and without sifting, and I found that it takes much longer to get rid of the lumps if I don‘t sift the green tea powder.
    Matcha Latte 1
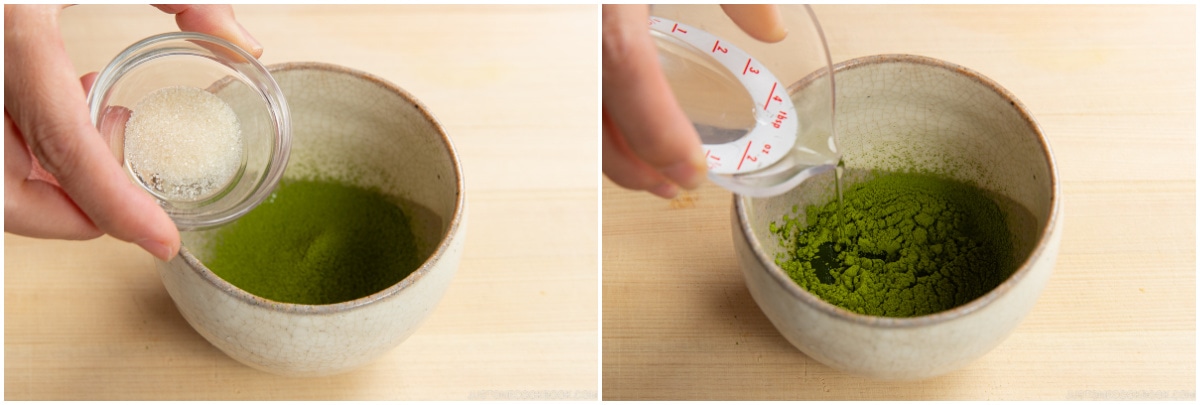
  • Add ½ tsp sugar (optional; I don‘t add it) if you want to sweeten your matcha latte. Then, add 2 Tbsp hot water.
    Matcha Latte 2
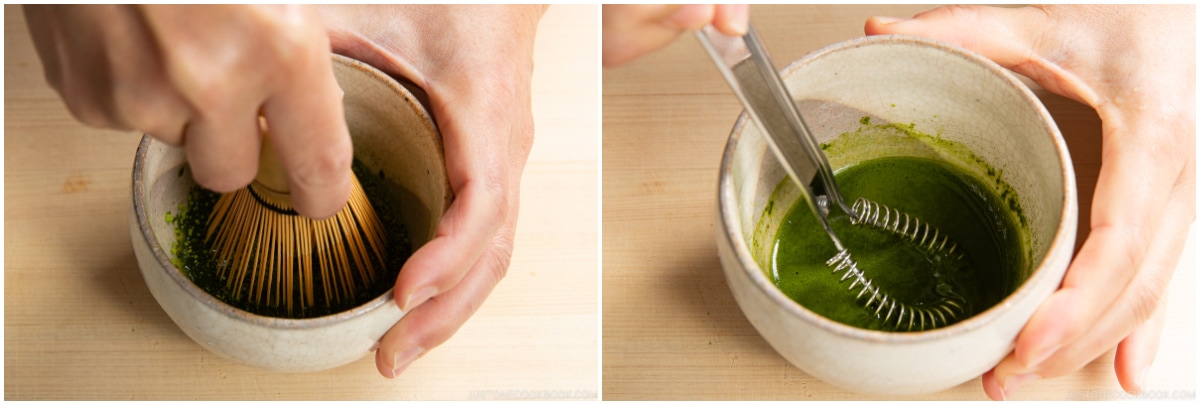
  • Using a chasen (a bamboo whisk used for Japanese tea ceremony), whisk briskly, drawing a letter W, until no lumps remain. The matcha should be smooth and a little foamy. You can also use a flat whisk if you have one (it‘s one of the kitchen tools that many of you ask me about). Tip: Matcha is tea leaf powder, so it will never completely dissolve in water.
    Matcha Latte 3

To Steam and Froth the Milk

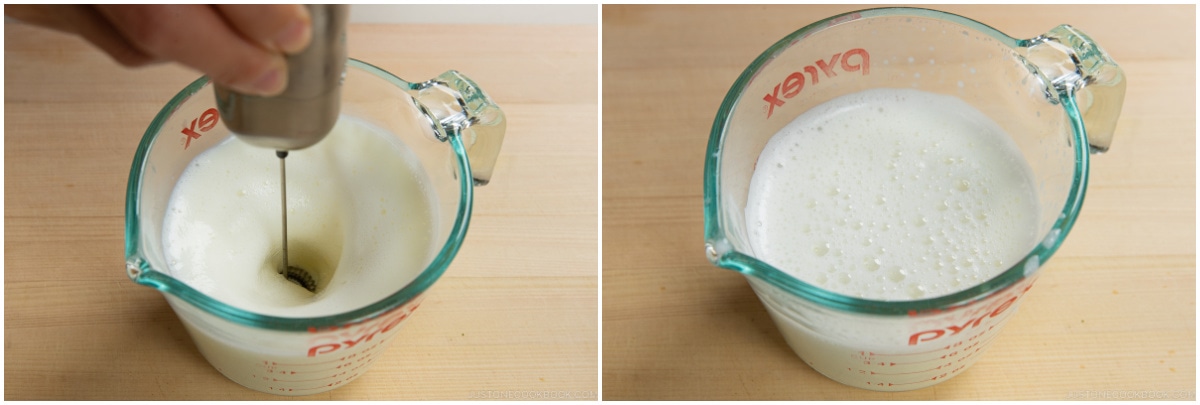
  • With a Handheld Milk Frother: Heat ¾ cup milk in the microwave or in a pot on the stove until warm, about 140ºF or 65ºC. Then, with a handheld milk frother, froth the milk until foamy, about 10–15 seconds. If you don‘t have a frother, skip this step.
    Matcha Latte 6
  • With an Espresso Machine with a Steaming Wand: Start with ¾ cup milk (cold). Learn to steam milk by following this video tutorial by a World Champion latte artist. For this recipe, Mr. JOC used the auto-steaming function.
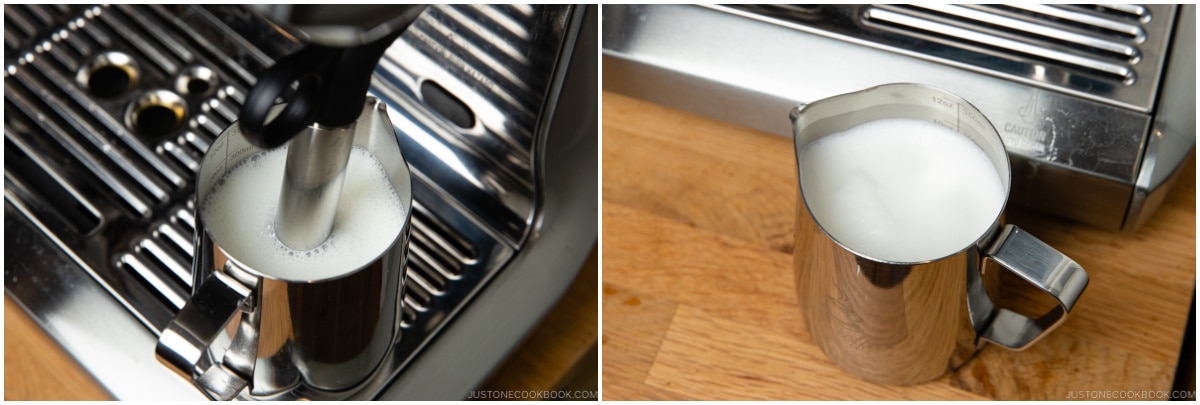
    Matcha Latte 6-2
  • Pour the steamed milk into the center of the matcha, ending with light foam.
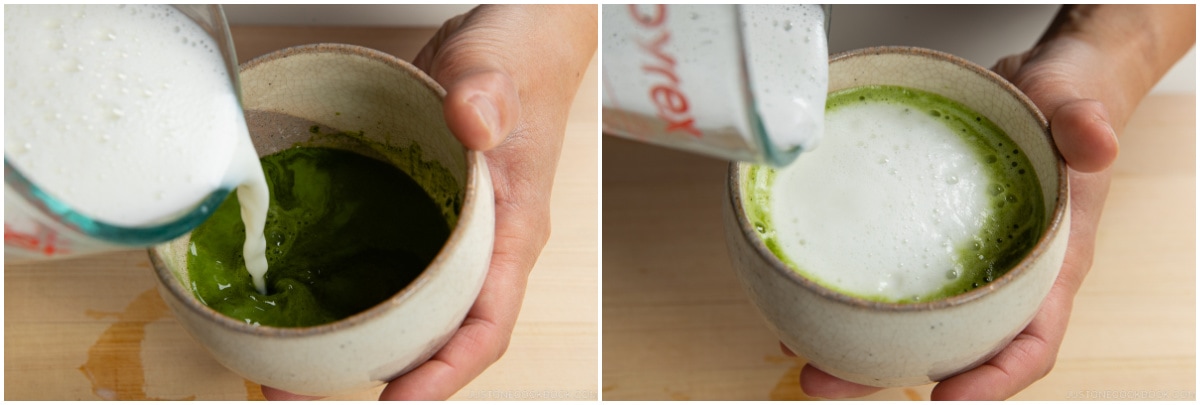
    Matcha Latte 7
  • Sprinkle additional matcha (green tea powder) on top using the fine-mesh strainer. Enjoy!
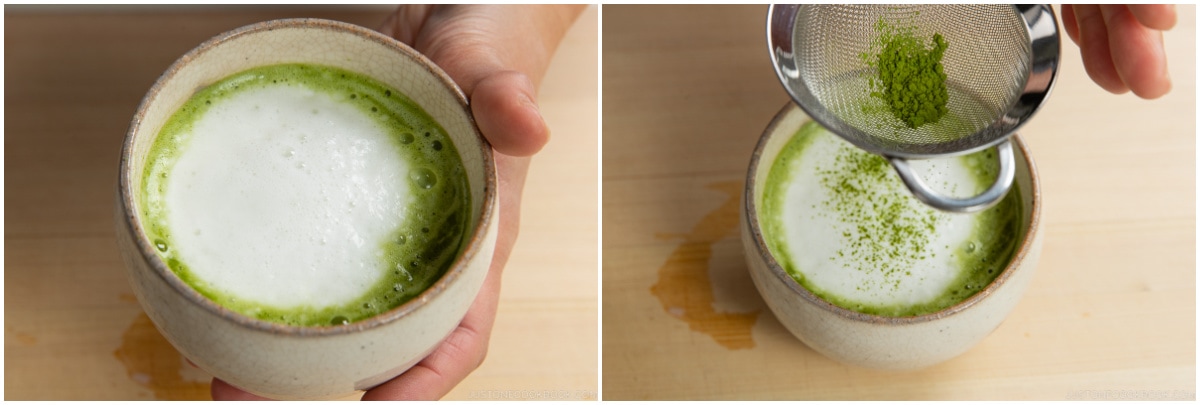
    Matcha Latte 8

To Make Latte Art (optional)

  • If you wish to make a decorative design on your latte, follow this video tutorial by a World Champion latte artist. Mr. JOC is still learning. 🙂
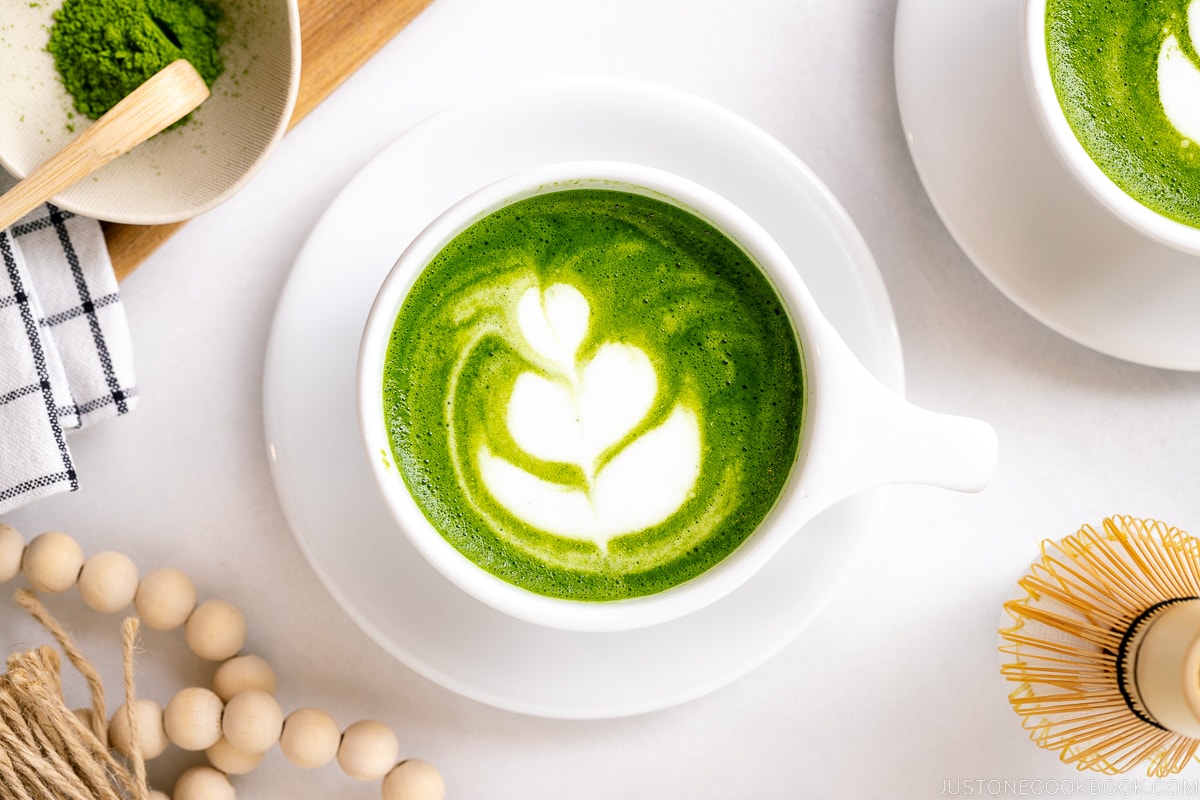
    White cups containing Matcha Latte with a turip latte art.

NUTRITION

Nutrition Facts
Matcha Latte
Amount per Serving
Calories
136
% Daily Value*
Fat
 
6
g
9
%
Saturated Fat
 
3
g
19
%
Polyunsaturated Fat
 
0.2
g
Monounsaturated Fat
 
1
g
Cholesterol
 
22
mg
7
%
Sodium
 
70
mg
3
%
Potassium
 
275
mg
8
%
Carbohydrates
 
11
g
4
%
Sugar
 
11
g
12
%
Protein
 
9
g
18
%
Vitamin A
 
596
IU
12
%
Calcium
 
229
mg
23
%
Iron
 
1
mg
6
%
* Percent Daily Values are based on a 2000 calorie diet.

Sunday, January 14, 2024

Crispy potatoes


4g baking soda and 25g kosher salt per 2 qt water to boil potatoes

4 lbs russets (or Yukons) peeled and cut into large chunks (2-3” or so)

5T (75ml) extra virgin olive oil/duck fat


Oven rack to center, preheat oven to 450

Bring 2 quarts of water to a boil over high heat

When the water comes to a boil, add salt and baking soda and the potatoes and stir.  Return to a boil then reduce to a simmer and cook until a knife meets little resistance when inserted into a potato chunk – about 10 min after returning to boil

Drain carefully and let rest in pot for about 30 seconds to allow excess moisture to steam off – transfer to a bowl with the melted fat, season to taste with salt and pepper, and toss to coat roughly until a thick later of mashed potato0like paste has built up on the potato chunks

Transfer to large parchment lined rimmed baking sheet and spread them evenly – roast 20 min, flip, continue roasting until deep brown and crisp, shaking and turning a few more times, about 30-40 min.

Friday, January 5, 2024

Taiyaki

99.9% of this shamelessly ganked from: https://www.justonecookbook.com/taiyaki/

I don't do anko - last night I made pastry cream to fill these with.

Sift together:
125g AP Flour
20g Corn startch
1 tsp baking powder
1 tsp baking soda

Add 40g sugar and whisk together well

In a separate bowl, whisk 1 large egg (50g without shell) with 180-200ml whole milk depending on size of egg - combine well.

Pour wet ingredients into dry ingredients and whisk well until completely smooth and incorporated - refrigerate for 1 hour - this should result in about 1.25C batter


To Cook the Taiyaki

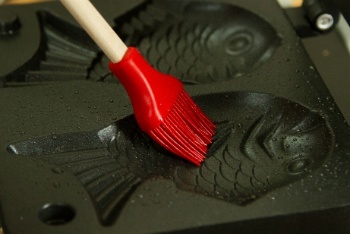
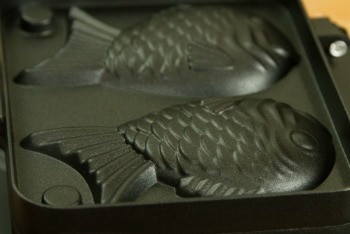
  • Preheat the taiyaki maker over medium-low heat. When it‘s hot, grease the pan with some of the 1 Tbsp neutral oil using a brush.
    Taiyaki 6
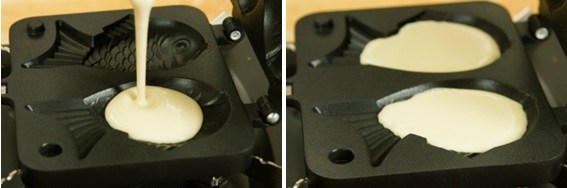
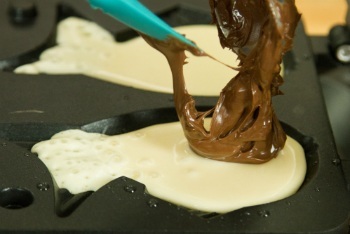
  • Fill the taiyaki pan mold about 60% full of batter.
    Taiyaki 7
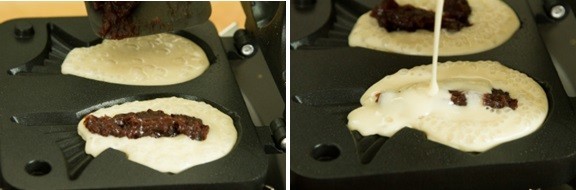
  • In the center of each mold, put about 1 Tbsp of the 250 g sweet red bean paste (anko) and pour more batter on top to cover it.
    Taiyaki 8
  • Optional: You can also use Nutella as a filling.
    Taiyaki 11
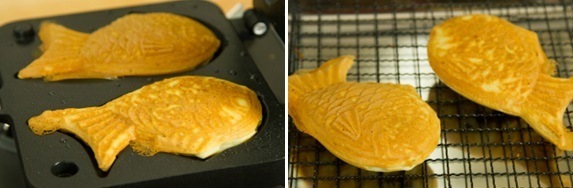
  • Close the lid and immediately flip.
    Taiyaki 9
  • Cook for 2 to 2½ minutes on that side. Then flip and cook for another 2 to 2½ minutes. Open and check to see if the taiyaki is golden brown. Remove from the pan and cool on a wire rack. Continue cooking the remaining taiyaki.
    Taiyaki 10

To Serve

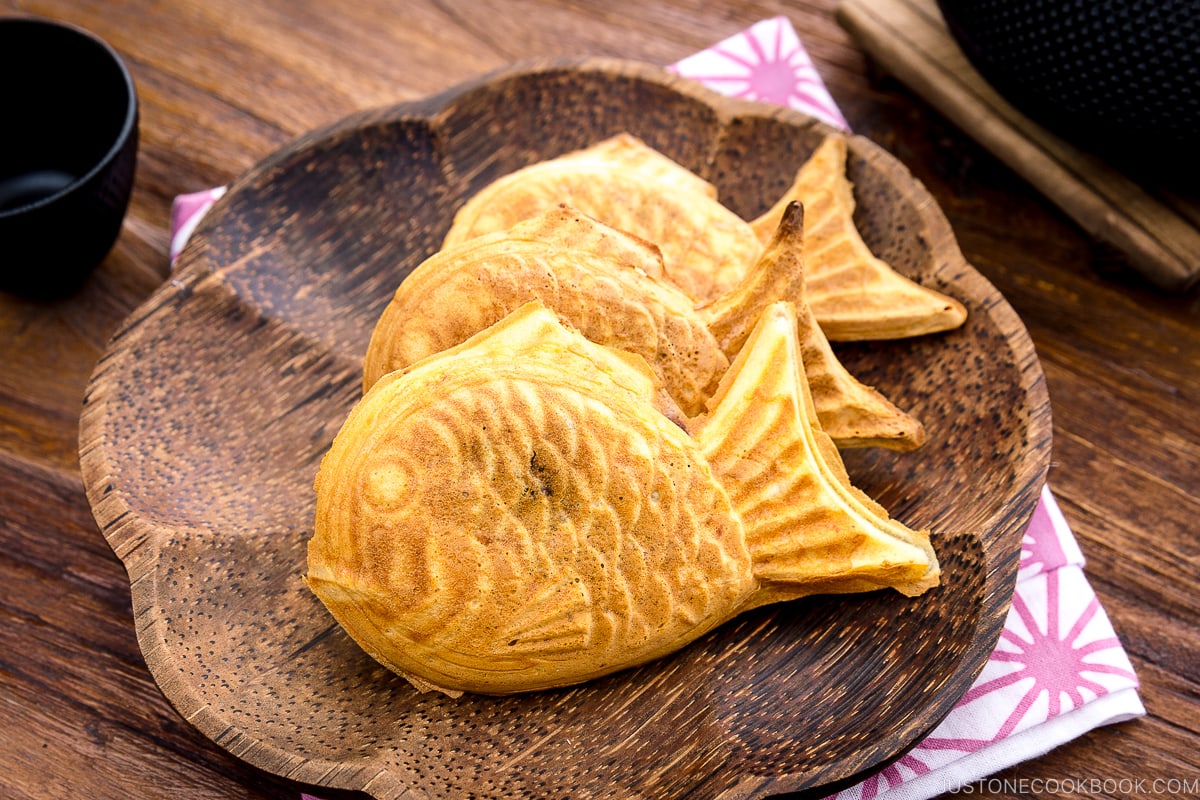
  • Serve warm. If the taiyaki get cold, you can toast them in the toaster oven or oven until they‘re crispy on the outside.
    Taiyaki served on a wooden plate.

To Store

  • You can keep the taiyaki in an airtight container and store in the refrigerator for up to 4 days or in the freezer for up to a month.


Thursday, January 4, 2024

Pastry Cream

All purpose pastry cream, but I will be using this for Taiyaki filling! Maybe with strawberries?

I followed the recipe and instructions from Instructables except I scalded the mlk/butter on the stove instead of using a microwave and did a few other things my own way.  All ingredients are from the site, I mostly followed their directions, but the instructions are a combination of my words and theirs.  Original recipe can be found here:

https://www.instructables.com/How-to-Make-Creme-Taiyaki-Custard-Filled-Waffle-Fi/


Ingredients for Custard Filling

  • 1 3/4 Cup of Milk
  • 4 Tablespoons of Unsalted Butter
  • 4 Egg Yolks
  • 1/2 Cup of Sugar
  • 5 Tablespoons of Flour
  • 2 Tablespoons of Cornstarch
  • 1/2 Teaspoon of Salt
  • 2 Teaspoons of Vanilla Extract

    Cut the butter and add to milk in heavy bottomed sauce pot on the stove - scald the milk by bringing to 180* - when bubbles are just about to start.  Then cool to 110* before using in recipe.

    Combine dry ingredients in a bowl, then whisk 4 egg yolks in a larger bowl until they lighten in texture and color.  Add the dry ingredients to the egg yolks and whisk until combined into a smooth, thick paste.  When the milk/butter has cooled, add about 1/3 cup to the yolk mixture and whisk until smooth.  Repeat until all the milk is incorporated.  Wipe out the pot, place a strainer over the pot and slowly pour the mixture back into the pot.  Put over low/low-med burner and whisk continuously - make sure that you have everything you need ready to go because this becomes even more critical the longer you are into the cook! 

    The custard will begin to thicken - when it becomes very thick and starts pulling away from the sides remove from heat and continue whisking for an additional minute or so - err on the side of longer. Remove custard to low flat container to cool - lay plastic wrap directly on the surface to prevent a skin from forming and cover completely.  Cool as quickly as possible - I put an ice pack below it and an ce pack in a paper lunch bag on top of the plastic wrap before refrigerating for at least 2 hours.

    For pipings and fillings for things like creme puffs and regular uses, whisk it until smooth and its ready to use.  For Taiyaki, I am thinking I may want to try it thiccccccc and unwhisked.  Will discuss in Taiyaki post.

Tuesday, December 26, 2023

Chicken (turkey/whatever) Por Pie

Nailed it last time and annoed iwthin an inch of my life that I coulsdn't find the recipe I based it off of ... that one had more veg ... the only thing i wouled have changed last time was using less vef.  Let's go ...

Preheat oven to 350*

Thaw 1 Cup frozen mixed veg (maybe more?)

1 can condensed Cream of Chicken soup

2 pie crusts

3 C cooked shredded/cubed/whatever chicken/turkey/whatever


Combine chicken/turkey/whatever, soup and veg - salt and pepper to taste - press one pie crust into bottom of 9 inch pie plate (bonus points: separate one egg - brush bottom crust with egg white only, mix yolk and remaining egg white with a splash of milk and use as egg wash for top pie cruat).  Or you could blind bake the bttom pie crust ... or use any or all of the above in whatever combination you choose.  Or not - I usually don't bother and ...whatever!), pour in filling, top with second pie crust and cust a vent in the center.  Bake 40-45+ min until golden, let set for about 15 minutes before serving.


Yissssssss.


There is also leftover mashed potatoes and fancy potatoes - future variations should include mashed potato toppintg and/or fancy potato incluaions.  There is an orphan pie crust that needs used ... thinking BOTH. Maybe cream of mushroom soup and usine only green beans instead of mixed veg and getting those leftover fried onions into the mashed potato topping for a sort of green bean casserole leaning pot pie ...


Saturday, November 25, 2023

Chocolate Chip Cookies

 2.25 C AP Flour