I was watching a show on NHK about super-healthy foods - one of the featured foods was amazake. Amazake is a traditional Japanese food made with Koji, like miso, soy sauce and sake. Koji is rice that has been cooked, cooled and sprinkled with Koji mold (Aspergillus oryzae) - when koji rice is added to other ingredients, it results in fermentation - in the case of amazake, the carbohydrates in the rice are broken down by enzymes resulting in simpler unrefined sugars.
According to Wikipedia, "Amazake is believed to be very nutritious. It contains Vitamin B1, B2, B6, Folic Acid, Dietary fiber, Oligosaccharide, Cysteine, Arginine and Glutamine. It is often considered a hangover cure in Japan." On the NHK show that I saw (you should check it out, as I write this it is available for streaming on the NHK web site - the show is called Medical Frontiers - the episode was Search for Superfoods in Nagano), Amazake's beauty benefits were touted as well - the amazake increases circulation and makes your skin look great and vanquishes dark under-eye circles! I have also seen amazake referred to as a "drinkable IV" because it is so packed with nutrition - it is held to be both easily digestible and good for digestive health (so good for the infirm, the elderly and weaning babies) and a great health supplement. I guess it is a really, really good thing that I had all I needed to make it on hand, because this morning I woke up with the opening salvos of a cold. I am hoping that between the vitamin C tabs, the zinc nose swabs and my amazake, I can ward it off!
There are a ton of different recipes out there - as is my habit, I read just about every recipe I can find, find the similarities and differences and go from there! I find that questions I have about a technique or ingredient in one recipe are usually answered by reading others. Sometimes I tweak t he recipe I use to be a "greatest hits" of all the recipes I have read through, sometimes I decide to follow it exactly - in this case, I have followed Maki's recipe exactly in terms of ingredients, but having read through about a thousand more, the technique is a bit ... expanded?
I have never made Amazake before ... I have never tasted Amazake before! Like so much of my Japanese cooking, I have to take it on faith that I am getting it right! Though ... if the end result tastes good to me, I may work up the courage to see if one of my Japanese coworkers will brave a taste and tell me how I did!
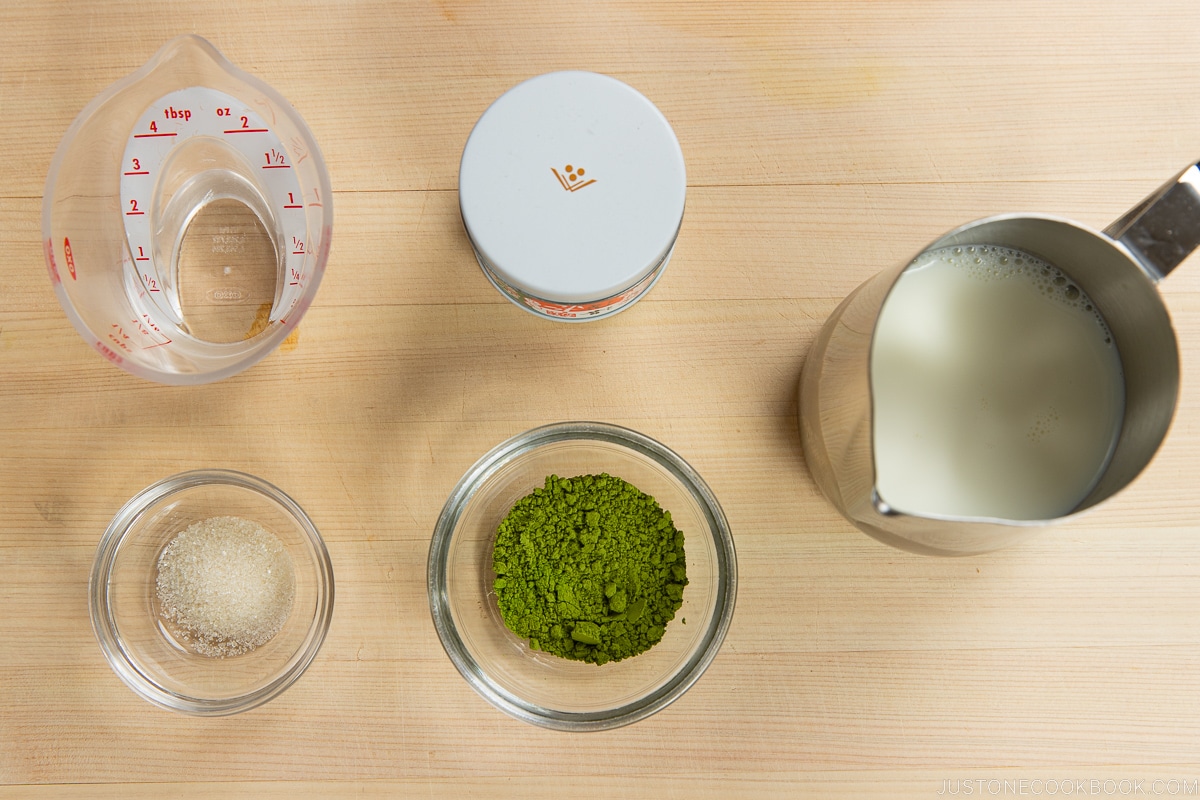
Here are the ingredients I used:
75g medium grain rice
75 g short-grain rice (don't make yourself nuts in the store - sweet rice is the same as short grain!)
400ml* water and 200ml water
200g kome koji (mine happens to be brown rice koji!)
Now, 1 rice cooker cup (the one that comes with the machine!) is 150g ... so 1/2 rice cooker cup is 75g - you are using 1 rice cooker cup's worth of rice total. Maki says to blend the rices so it is just the right amount of sweet - I am not questioning the master on this one, 75g of each it is!
This is where the * next to the 400ml of water comes into play. I have a schmancy Zojirushi 10 cup rice cooker that I love beyond reason - it has various cooking settings and markings inside the pot to help you use the right amount of water so your rice comes out perfect each time. So, if I am using 1 rice cooker cup of rice ... I am going to use the markings inside my rice cooker to tell me how much water instead of measuring. Maki's recipe did not specify what rice cooker setting to use, but other recipes referred to congee and porridge, so I tossed the rice into the pot, filed up to the 1 cup line for "porridge" and cooked it on the porridge cycle!
 |
| The porridge is done! |
When my rice cooker sang its "I'm done!" song, it was time for the next step. My dearest Maki tells you to put the 200ml of water and koji in with the hot rice and cover with a towel for 10 hours on the "keep warm" cycle, making sure it stays between 55-60 degrees C. The temperature concerned me - that hot rice was A LOT hotter than 60 C ... but Maki has never failed me before ... but I can't help but be a little concerned and hesitant to wreck the recipe - that koji was not cheap or easy to find! So, compromise! I added the200ml water as cold water, stirred to release heat a bit and I am keeping it only partially covered with a towel until I get a temp of 55 C - from there I will cover it all the way.
Maki also never mentions stirring - several other sources suggest stirring twice while cooking and I plan to do that.
 |
| Combining ingredients and checking temperature |
 |
| Adding the Koji rice |
It took about an hour before the ingredients came down to 60 C - at that point I placed the towel to completely cover the rice cooker.
 |
| Cooling down to 60 C |
Now ... we wait! 10 hours ...
 |
| Keeping warm! |
Over the 10 hours I kept monitoring the temperature - ideally it is kept between 55-60 C so when it would hit 59-60, I would vent the heat by uncovering a bit for about 20 minutes.
As promised by all of the recipes I reviewed, when it smells and tastes sweet, it is done! I emptied the amazake into a pot and used my stick blender to blend it slightly - since blending is optional, I didn't want to make it 100% smooth! It can be enjoyed hot or cold - as I write this I am enjoying a warm glass of amazake - it was worth the 10 hour wait! It tastes a lot like rice pudding with almost a grassy or grain-like aftertaste - it's really tasty! The rest went into a mason jar and into the fridge - it should keep for about a week according to the majority of sources I read. Some advised bringing the amazake to a boil to stop the fermentation so it will keep longer, but that would also neutralize a lot of the benefits! It makes slightly less than 2 quarts and it is thoroughly delicious so I really don't think drinking it before it gets sour will be a challenge.
So fingers crossed - those puffy dark under-eyes and fledgling cold are in the crosshairs of my homemade amazake!
 |
| Kanpai!!! |